Windows-ify Your Mac
The Cult of Mac has a long history of worshipful followers as well as sworn enemies. In a professional IT setting, however, you don’t always have the luxury of picking sides. Even working for a broadly Windows-based organization, we do have to support Macs. To help overcome our PC vs. Mac biases, we’ve transitioned to using Macs for some of our workloads to help familiarize ourselves with it more closely. As we’ve done so, there have been a lot of growing pains of not being able to do things as effectively on Mac as on Windows, especially where muscle memory is concerned (give me Ctrl+C or give me death!). What follows is a collection of tips that have made our journey more enjoyable as we’ve worked macOS into our workflow.
General Functionality
The command key ⌘
The one that drives me the most insane whenever I use someone else’s Mac is the command key. Coming from a Windows world, having to use command + c to copy feels so foreign when the key is so centered on the keyboard.
Luckily, Apple gives you an option to remap your modifier keys in system preferences. Below are the settings I use. In general, we’re just swapping the control and command key to make the shortcuts not feel so alien.
Windows search alternative (spotlight and launchpad)
If you’re used to hitting the Windows key to search for programs, you’ll have to adjust a touch, as there isn’t a direct equivalent in Mac. In Mac, there are two different features that give a feeling similar to Windows search.
Spotlight - Spotlight allows you to search for programs, files, settings, web searches, and more on the Mac. By default, you can use the hotkey command + space (if you re-bound your keys in the step above, you will actually hit the control key and space to do this). You can rebind this shortcut to something else, but it has to be at least two keys. Because of this, you can’t exactly bind it to a single key, like in Windows.
Launchpad - Launchpad only lets your search for the programs/apps on the Mac. By default, there isn’t a hotkey for this, but there is an icon on the taskbar at the bottom. There is however a trackpad gesture (pinch with your thumb and three fingers… it feels inefficient to me). You can bind a shortcut for this in system preferences, but like above, the shortcut has to be at least two keys.
My solution - For my use case, I decided to go backwards and instead of trying to put the Windows search on Mac, I decided to bring spotlight to Windows (gasp). To do this, go and download the Flow Launcher for Windows and set the hotkey to control + space. This way you have the same muscle memory for both. And to be honest, I kind of really like spotlight searching compared to Windows searching.
Closing programs?
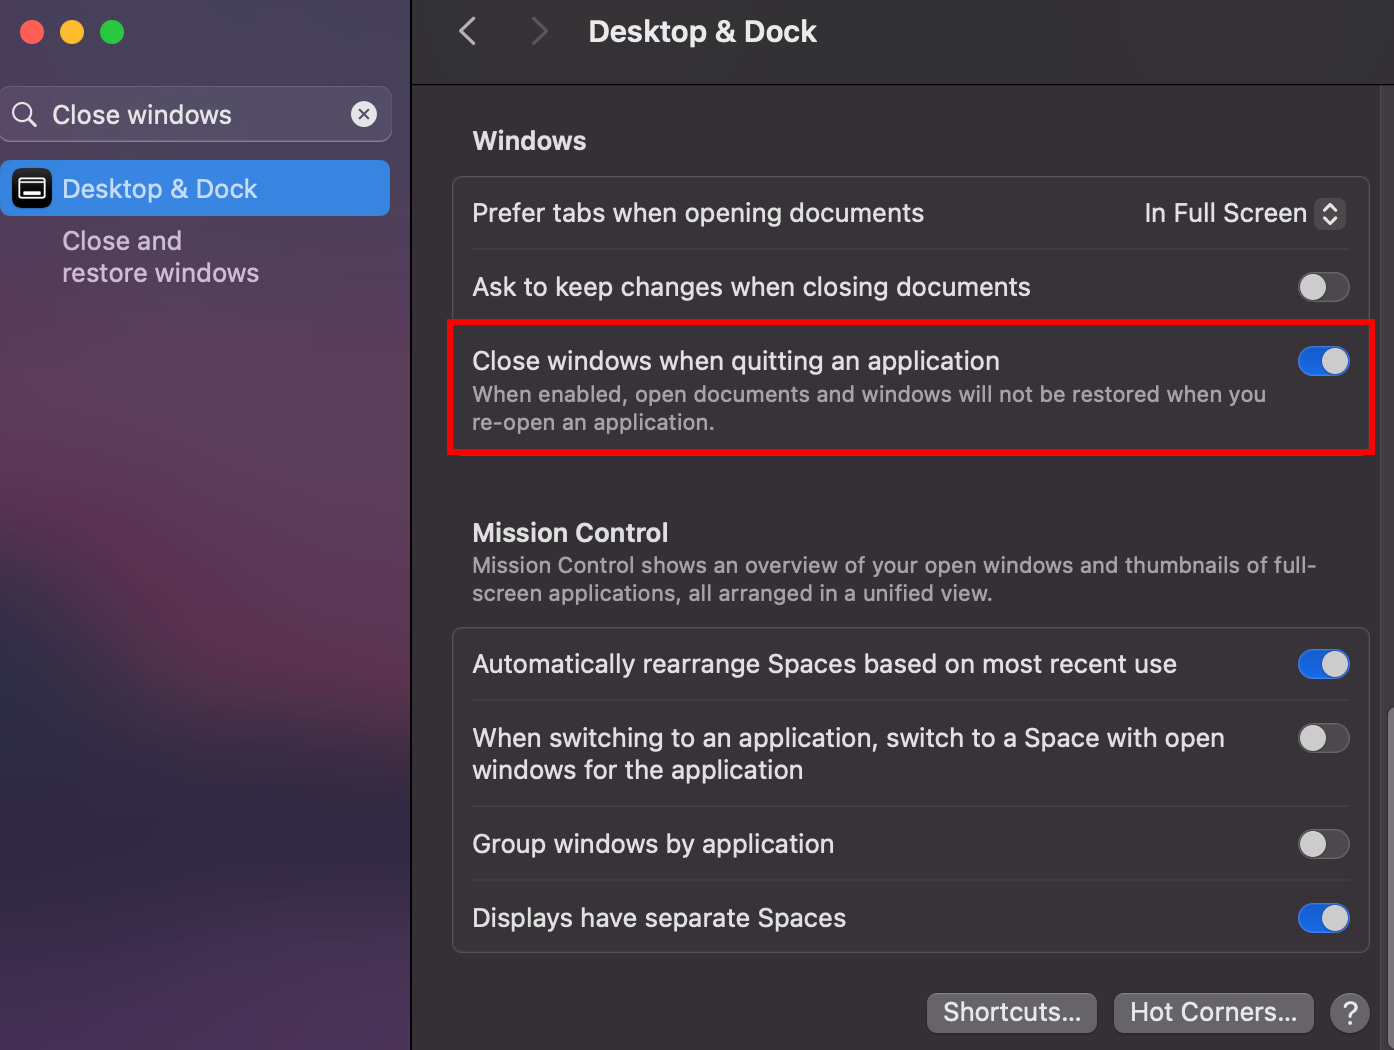
Ever notice that when you try to close programs in Mac... they just kind of don’t? The dot on the icons on the task bar means that the application is still running. Well, that is by design (yay..). Mac works similar to phones in the sense that whenever you close an app, it still runs in the background of your system until you close the process. For Mac, you can close the apps in three ways. You can either control click the program on the task bar and select quit. You can go to the menu bar at the top and there is normally an option to quit the program in there. Or, in my opinion the best way, you can use the shortcut command + q. This isn’t too bad once you get used to it. However, if you want something more similar to Windows, there is a setting to close out apps automatically when you close out the window. This way the apps shut down whenever you click the red dot in the top left corner. Note, this setting does not work with all apps.
Scrolling (why is it backwards??)
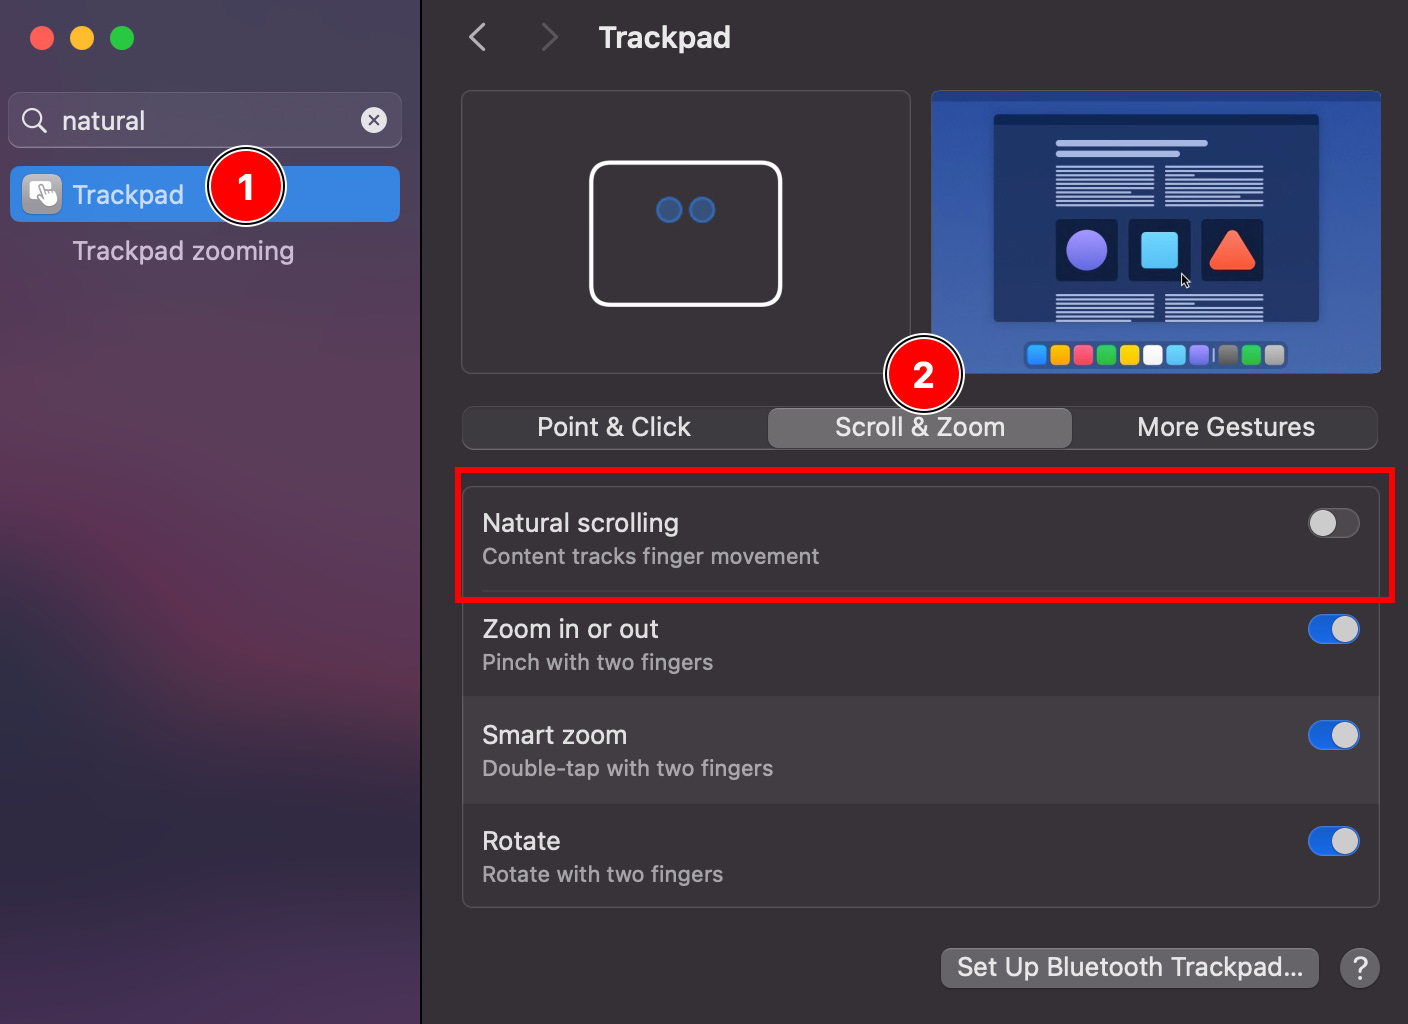
Sometimes Apple does things different, just to be different. I believe this is one of those times. You may have noticed while using your Mac that scrolling is inverted from what you would expect. Luckily, this can be changed to in system preferences. Ironically, the feature is called Natural Scrolling, and you want to turn it off immediately. Note that if you use an external mouse as well, you will have to change this setting for the track pad and for your mouse.
Secondary Click (give us right click!)
Again, Apple likes to be different. Instead of right clicking, like in Windows, Apple wants you to hold the command key and click for your secondary click option. This sucks. However, you can change this as well in system preferences to either be a two finger click, clicking in the left corner of the trackpad, or clicking on the right corner of your track pad.
It is also worth noting that when you right click on things, you may notice that there are some options missing that you are used to. Luckily, there is an app called MouseBoost that brings some of these functionalities back and allows for additional customization.
Menu Bar
You may have noticed in Mac that many programs don’t have the typical file, home, insert options you’re used to seeing in Windows.
This is because in Mac, this bar is built into the OS. This isn’t too bad to get used to, but I mention it as it can be confusing whenever you have a small window open and the settings bar is all the way at the top of the screen.
Window Management
Windows don’t snap the way I want them too in Mac. While using a feature like Stage Manager really helps with this, I find that it is very difficult to multitask on a Mac due to the Windows manager not being as polished as I would like it. Thankfully, there is an app called Rectangle that gives the Mac Windows Manager a lot of Windows like options (clear as mud, right?). This tool gives you a quick way to split Windows in half by hovering the cursor over the green expand button on open applications
Finder vs File Explorer
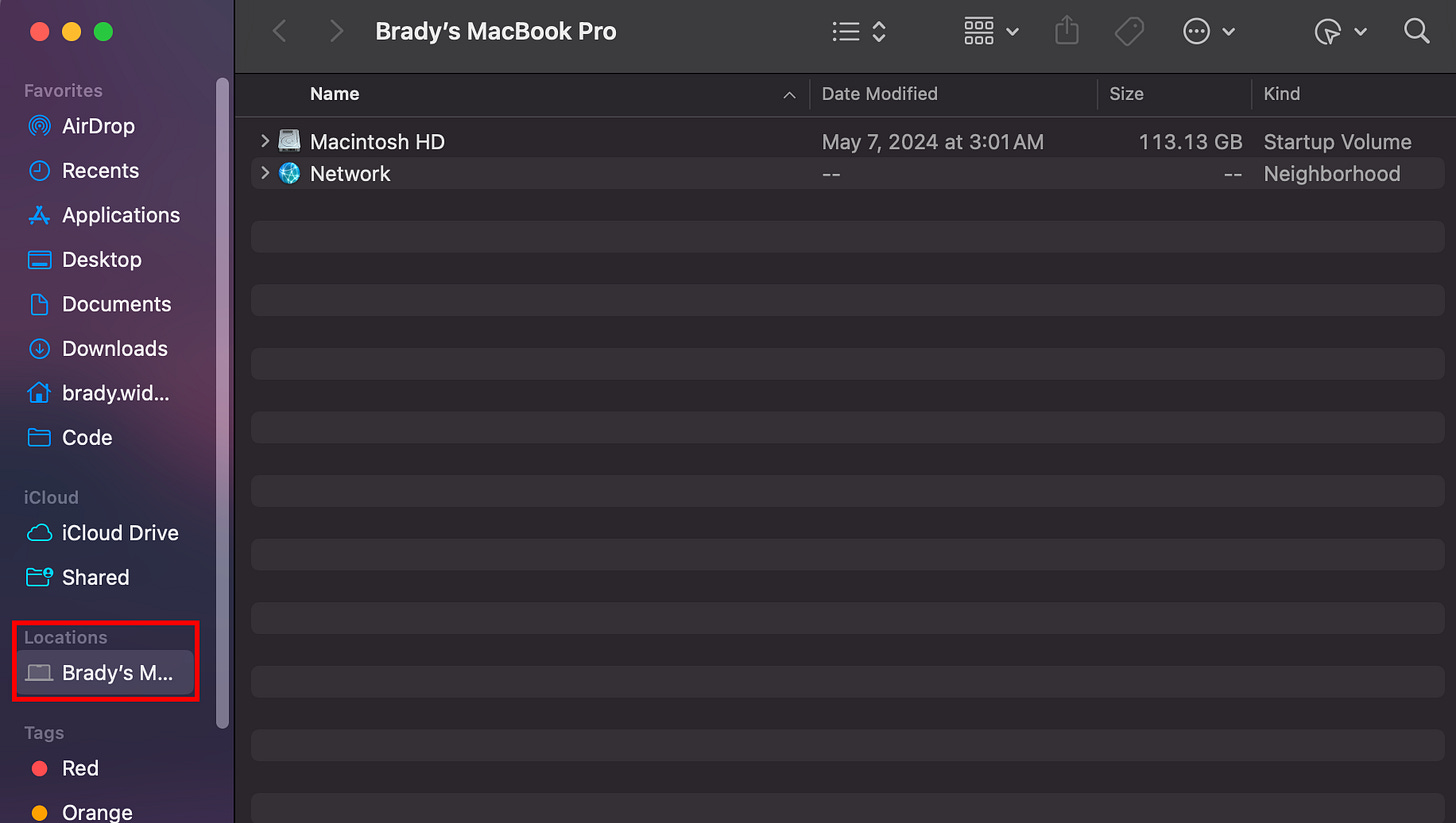
If you’re like me, you may have also noticed that trying to find files on Mac can feel foreign. This isn’t just because of different folder structures, but also because of some missing toggles in Finder that I believe should be included. Namely, a path bar so you know which folder you are in, and the folders nested inside of it and having the root computer drive on the sidebar as an option. Luckily both of these are toggles in Finder’s settings.
Unify Your Experience
Browser Wars
Windows-ifying your Mac wouldn’t be complete without unifying your browsing experience across your platforms. Since there is no longer Safari for Windows, you’ll want to go with a cross-platform browser. While you could opt for Chrome or Firefox, if you live in a Microsoft/Windows/Active Directory/Entra ID world, Edge makes the most sense. While it used to be dogged by performance issues, since Edge transitioned to the Chromium codebase in 2020 it has been fast and stable, and has been on the cutting edge of new features, especially for EDU.
Screen Captures
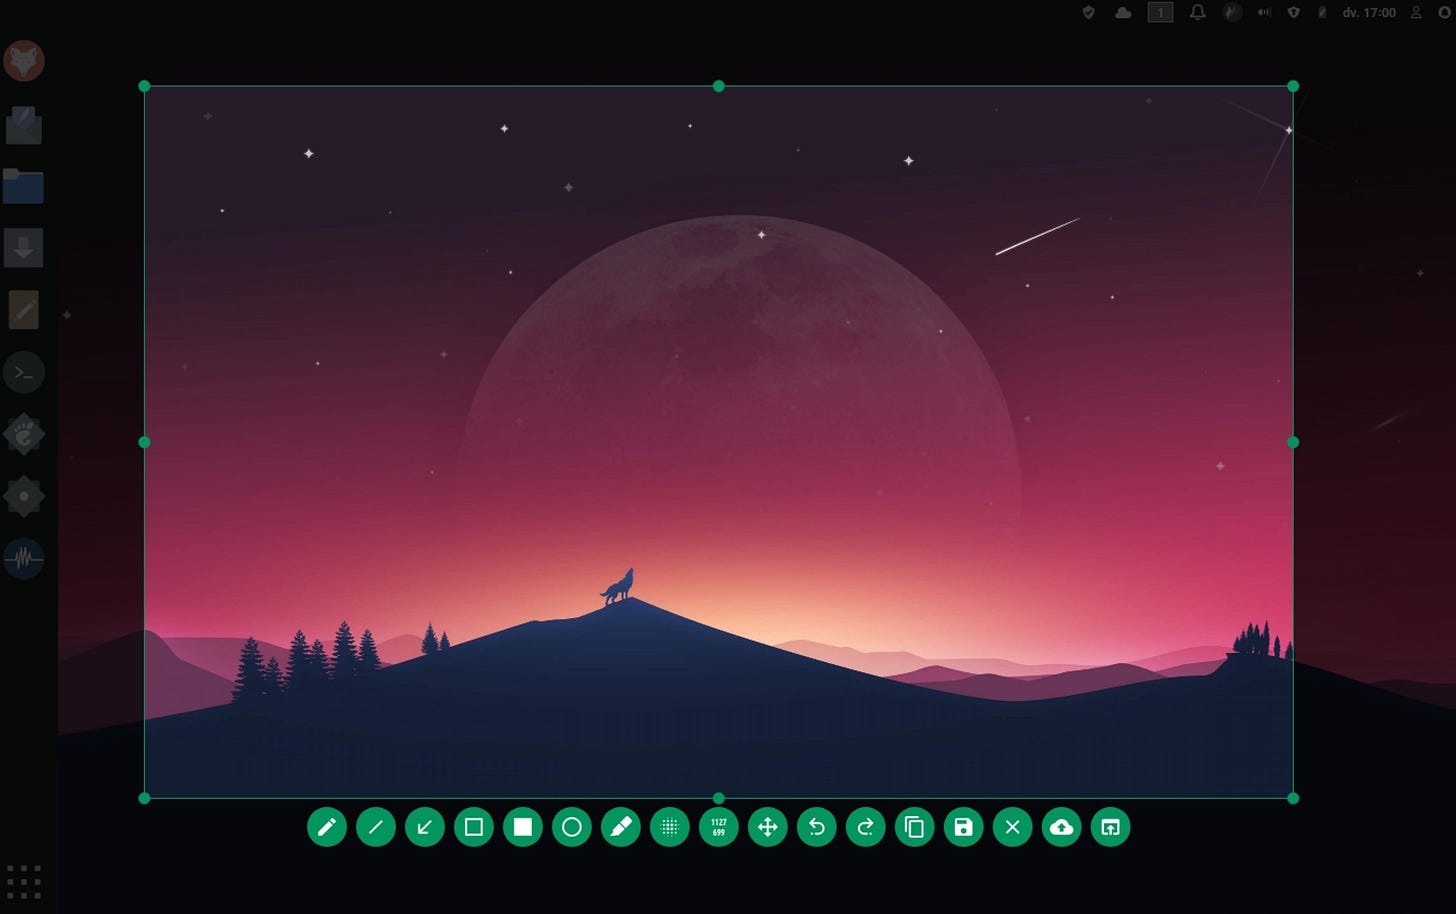
As someone who works in IT, documentation and screenshots are a constant part of my work routine. Since I have moved to Mac, I started using a screenshot tool called Flameshot. Flameshot allows for a highly customizable screenshot experience that can be mapped to a hotkey. Once you have your snip, you can then customize it with arrows, text boxes, drawings, and more. The part that makes Flameshot so magic to me is that it is available on MacOS, Windows, and Linux. This means you can have your same screenshot tool and experience across all platforms.
Meeter
This isn’t so much about a cross-platform tool as a tool to unify experiences across apps. We constantly deal with virtual meetings. We use Zoom as our primary virtual meeting tool. A lot of people we meet with in other districts use Google Meet or Microsoft Teams. Many of our vendors use Zoom and WebEx. Trying to keep these straight can be maddening sometimes. Meeter runs in the Mac menu bar and consolidates meetings across your apps. Especially helpful for me is a countdown timer that stays in the menu bar indicating when your next scheduled virtual meeting is. As a Mac-only app, this one has turned by Macbook into my de facto device for online meetings.
Power User Tools
PowerShell and Terminal
If bash isn’t your thing, you may or may not be aware of PowerShell being available for Mac! This is a great way for Windows power users to get some command line familiarity that they may be missing. Note that this version of PowerShell may not have every DOS command you’re used to, but in my opinion, is very helpful for bridging that gap.
There is also a very famous terminal alternative on Mac, similar to Windows Terminal, called iTerm2. This gives you a command line experience with multiple tabs, customizable UI, profile sets, and more.
Package Management
Notwithstanding AI everything, one of the most exciting new Windows features recently has been Winget. Granted, this was a feature that was exciting because it made Windows more Linux-like, so it’s not like it was an earth-shattering innovation, but for those of us who went all-in on Winget on Windows, transitioning to Mac needed an equivalent. Since Mac is based on Unix you’d think there would be a native Apple solution, which is why Homebrew bills itself as “The missing Package Manager for macOS.”
To install Homebrew, run this one-line command from the Terminal app:
/bin/bash -c "$(curl -fsSL https://raw.githubusercontent.com/Homebrew/install/HEAD/install.sh)"
Once installed, go to Homebrew’s website at brew.sh and search for specific applications. Some applications that are in this article that are available via Homebrew are Rectangle, PowerShell, Caffeine, Firefox, and CopyClip. The basic syntax for each is very similar:
brew install --cask rectangle
brew install --cask powershell
brew install --cask caffeine
brew install --cask firefox
brew install --cask copyclip
Task Manager
While not exactly Windows-ifying your Mac, sometimes, your computer drives you crazy and you just need to kill something. The best option is usually to kill a process or application, and if you’re freshly off the Windows boat you’ll be looking in vain for Task Manager. In MacOS, the equivalent is the Activity Monitor app that can be found by searching Spotlight for Activity Monitor or launching it directly from the Applications —> Utilities folder in Finder. Activity Monitor looks and feels very similar to Task Manager with the same main tabs for CPU, Memory, Disk, and Network, with an added option for Energy. To kill or inspect a process, click on the X or i icons in the top of the window like below:
Logs, logs, logs
Piggy backing off the last topic, sometimes you may run into issues on mac that you really just need more details on. Typically, in Windows, you would turn to event viewer for this. In Mac, the equivalent is called Console. Console is also located in the utilities folder and allows seeing detail events that are happening on your device.
Copy/Paste History
One of my favorite recent Windows features is Clipboard History. There isn’t a built-in solution for this in MacOS, but there are several 3rd-party solutions. The slickest and most similar to Clipboard History in Windows is probably Paste, but it has a $29.99/year price tag. CopyClip has a free offering, though it does hit you up with an ad to purchase additional offerings at start up. CopyClip2 has an option for a one-time purchase for $7.99. Personally, I use Parallels for running VMs on my Mac, and it comes with a Clipboard History tool in Parallels Toolbox (screenshot below). If purchased separately, Parallels Toolbox is $24.99/year.
Stay Awake
Power sleep and auto-lock settings are generally good, but sometimes you need to work around them. In Windows, I use a tool called Awake (below) that’s part of the Microsoft PowerToys suite. It’s used for keeping your PC from falling asleep. Awake is part of the Microsoft PowerToys
For similar functionality on the Mac, there are two apps that I’ve used. From the App Store, there is an option called Amphetamine for keeping your Mac awake. It lives in the menu bar and has a very quick and simple configuration for selecting how long you want to keep your Mac awake.
There is a similar product called Caffeine that can either be downloaded from this site, or can be downloaded from Homebrew with the command:
brew install --cask caffeine
Caffeine is very similar to Amphetamine, but maybe a little easier: if the copy cup in the menu bar is empty, click on it to fill it up and keep the Mac awake.
Better Spotlight (Raycast)
Raycast is a better, more customizable version of spotlight that allows for extensions that can really transform your workload. Some of my favorite features of Raycast a Homebrew extension that allows for quick updating of packages and installing new ones, Emoji searching for quick selection of emojis, executing shell commands straight from the search bar, an eject all disks toggle, and more. If you end up adopting Flow Launcher for windows and start to fall in love with the extensions and customization available, you should definitely give Raycast a try.
Windows on Mac (Literally)
Sometimes, there isn’t an alternative to windows and you just really need your Windows machine back.. Well, for that case, you do still have a couple of options on Mac.
Remote Desktop
Microsoft offers a very nice Remote Desktop application that can be used to remote into your windows computer with a touch of configuration. This is my preferred route at home to get the power of my workhorse desktop, while maintaining the portability of my macbook around the house. Pair this with a WakeOnLan solution and you have a really handy fix.
VMWare Fusion
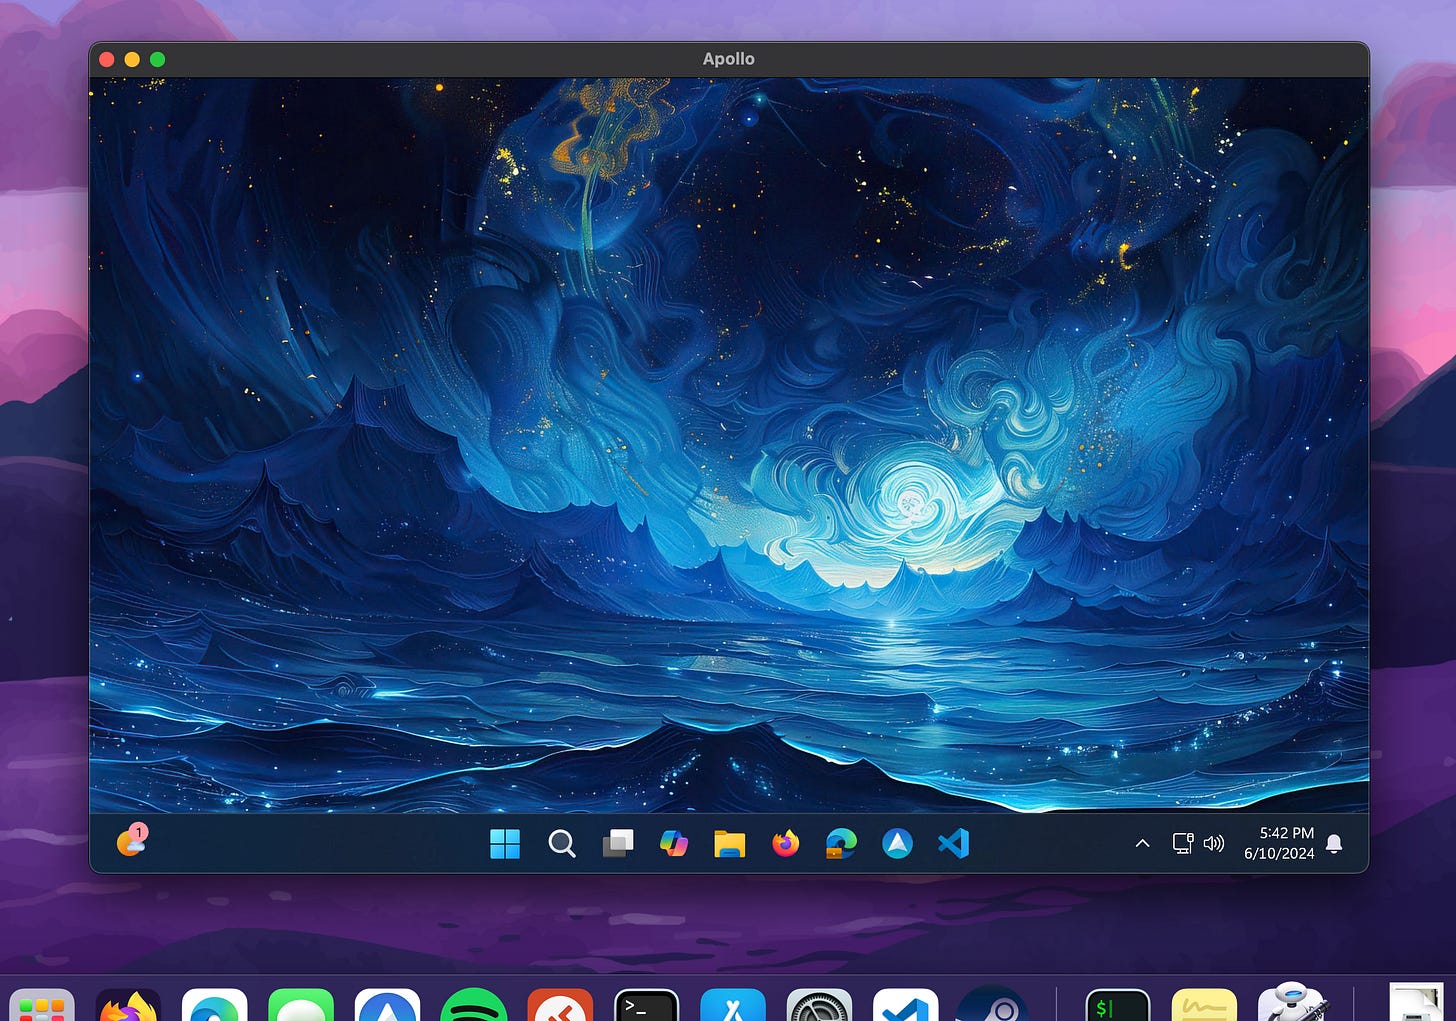
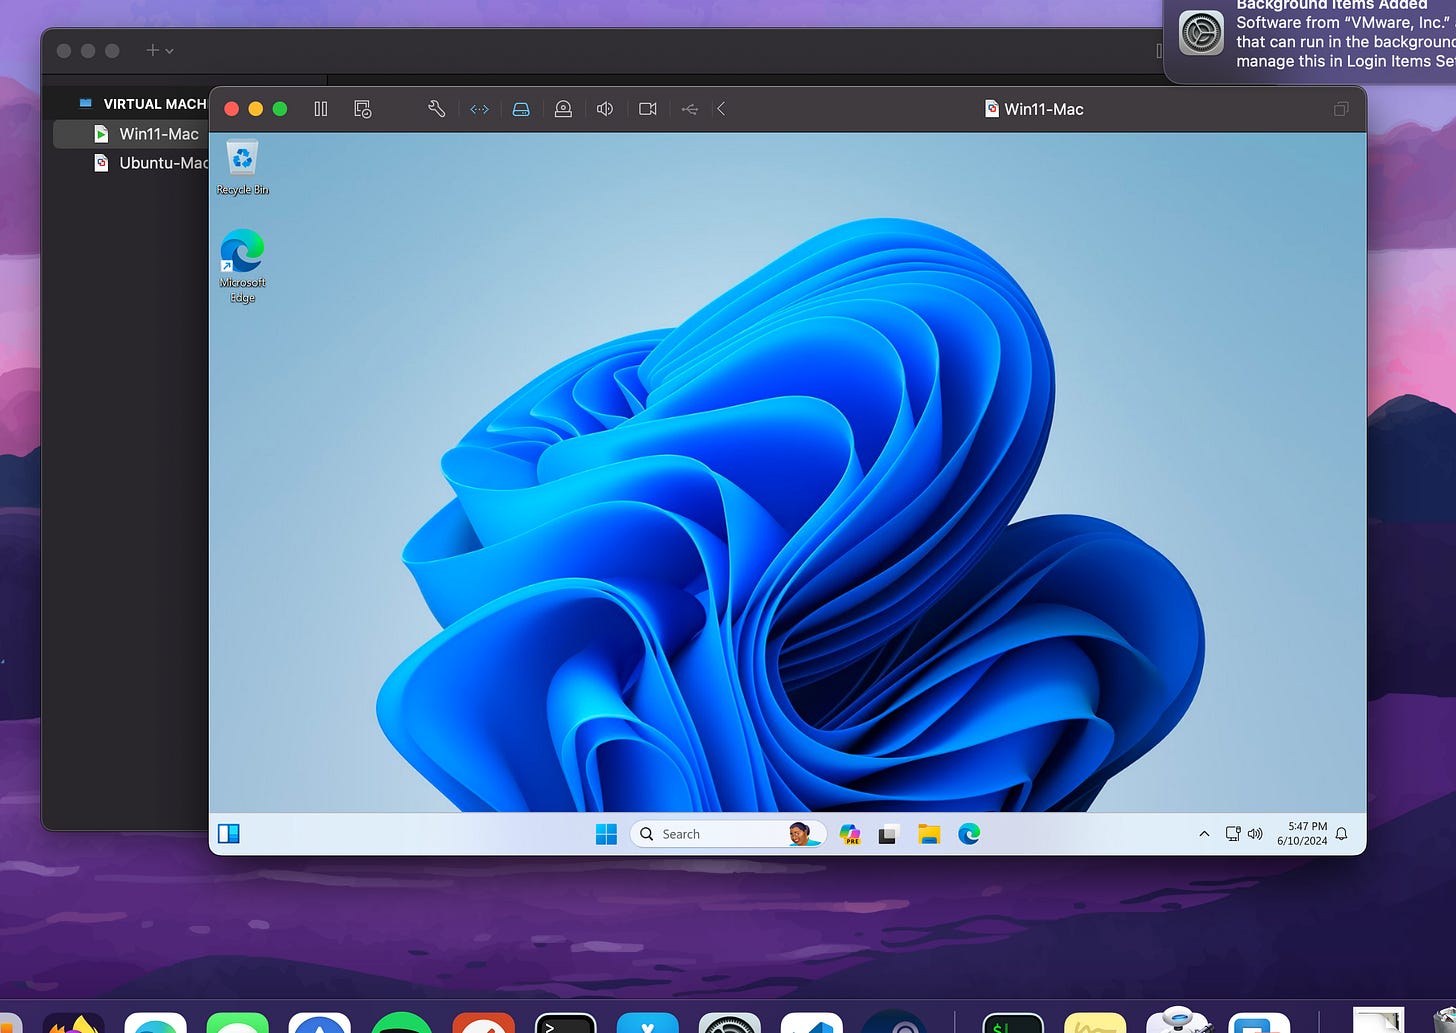
As of recently, Broadband has now made VMWare Fusion free for personal use. This allows for creating a Windows virtual machine in Mac that provides the functionality of Windows available locally on the mac. This isn’t as great of a solution as Bootcamp, but for Apple Silicon, I think this is a worthwhile trade off.
Guacamole
In my work environment, most of my Windows-based administrative tasks are done on a Privileged Access Workstation. In these cases, I use the Apache Guacamole RDP gateway to connect to my Windows PAW. Details on setting up Guacamole can be found in our previous article here. In a world where the majority of everyone’s computing happens in the browser, tools like Guacamole help bridge the gap between Windows and Mac.


